In Rust, monuments are the heartbeat of progression — they provide loot, scrap, components, and prime PvP opportunities. Knowing which ones to prioritize and which to avoid can define your wipe’s success. Just like in Cobalt Lab, smart strategy and timing are everything.
Tier 3 - Safe Starter Monuments
These spots are perfect for beginners and for a fast start without a hazmat suit. There’s little to no radiation, and competition is usually lower than on higher-tier locations.
Supermarket
A classic early-game monument. Supermarket almost always gives you:
- a guaranteed green card
- a military crate
- around 100 scrap per recycle run
- ration crates and barrels around the area
Usually there are 1–2 roads nearby plus some trees or open fields — you can run in, loot everything, hit the recycler, break down all the junk and head home with tools, scrap and early armor. For day one of a wipe this is almost the perfect spot: enough loot and not yet complete chaos around it.
Oxum’s Gas Station
In terms of loot, Oxum is very similar to the supermarket:
- green card
- military crate
- barrels and car-part crates
- around 100 scrap per run
Sometimes Oxum is a bit quieter than supermarket, especially if it’s a bit off the main roads. It’s a good idea to alternate: one run to supermarket, next run to Oxum, and use that to push your early progress.
Junkyard
Junkyard is a great monument if you know how to move around it:
- green card
- lots of barrels and car-part crates
- 1–2 diesel fuel barrels
- a chance for a locked crate from a Chinook
You can also use the shredder here to recycle vehicles. The downside is that because of diesel and crate chances, more “geared” players come here too. But if you pick safe paths and don’t sit on top of the scrap pile forever, you can farm here relatively safely.
Abandoned Cabins
Abandoned cabins give you:
- a green card
- minimal loot from crates
Basically, the value of this monument is mostly the keycard. It’s a quick “grab and go” spot you hit on the way somewhere else: grab the card, a few crates, and move on.
Lighthouse
Lighthouse is a nice spot if you like living near the coast:
- green card
- barrels and medical crates
- a recycler at the top
The downside is the vertical layout. Going up the stairs makes you predictable, and if someone’s waiting, escaping is hard. On the plus side, a lot of less experienced players come here from the shore, so it can be a chance for some easy PvP.
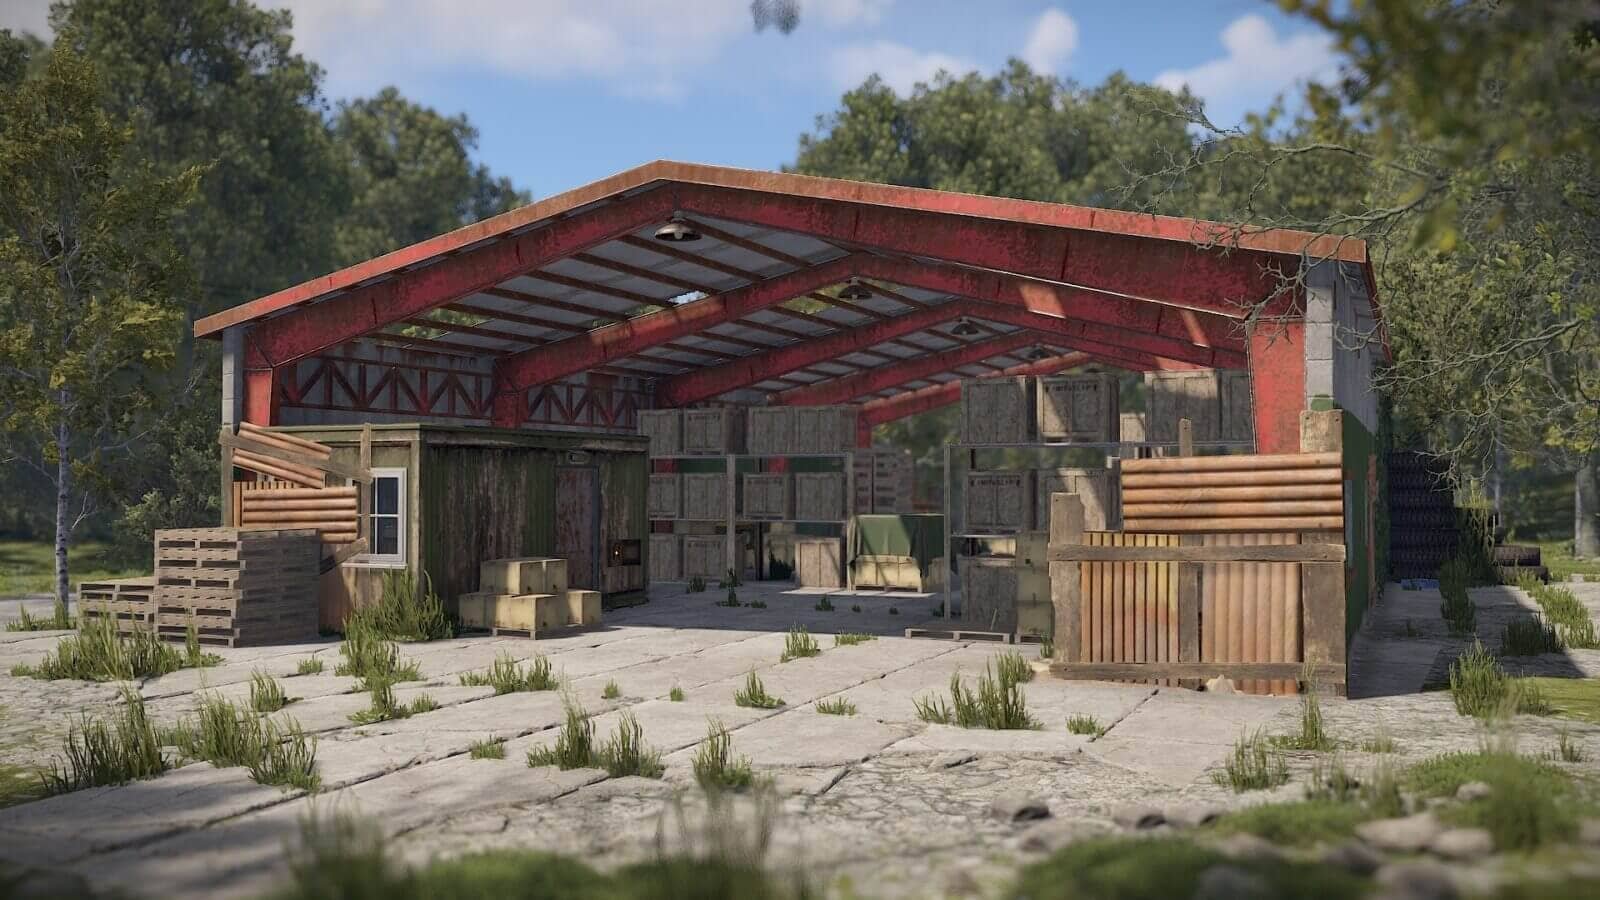
Mining Outpost
Small but very useful:
- no keycards
- barrels and car-part crates
- a recycler right on site
This is one of the favorite spots for “bow kids”. You’ll often see nakeds with bows and revolvers here, so don’t relax too much. That said, it’s a great place for solo players to grab components and instantly recycle them.
Tip: Run a green card loop through all Tier 0s for maximum scrap and card efficiency.
Tier 2 - Early PvP & Loot Upgrades
This is where more experienced players start crossing paths. Some monuments require a green card (to get a blue one), others are just valuable because of the amount of loot and an easy recycler.
Sewer Branch
One of the best Tier 2 monuments:
- lots of crates all over the area
- military crates in the underground section
- recycler
- oil refinery
- research table
If you already have a green card and fuse, Sewer Branch gives you a great boost in scrap and components. But many players come here specifically for PvP: the layout with tunnels and chokepoints means you should expect fights.
Satellite Dish
The satellite dishes are mostly used as a quick way to get a blue card. The route is simple:
- Come with a green card and a fuse.
- Turn on the power.
- Activate the room with the blue card.
Meanwhile you loot crates and barrels. The monument is quite small, so you don’t have to stay long.
Dome
The Dome is for people who aren’t afraid of heights or fall damage:
- no keycards required
- 4 military crates at the top
- lots of barrels around the ring
- recycler at the bottom
It’s a great spot if you’re confident in your parkour. But keep in mind: while you’re climbing up, someone could be waiting at the bottom. Better to come here light and fully focused.
Harbor (both variants)
There are two harbor layouts, but both give you:
- a blue card using a green one
- a recycler
- an oil refinery
- very low radiation
Harbor is a great choice for solo players: there is competition, but the layout lets you retreat via water, rocks or containers. It’s also a convenient stop on your way to boats and marine routes.
🎮 Like in Cobalt Lab, timing is key — hit these right after loot respawns to avoid competition.
Tier 1 - Advanced PvP & Red Card Access
This is where high-pop Rust really starts to show. Tier 1 monuments require a blue card to get a red one, plus 1–2 fuses. There is radiation, but it’s manageable with a hazmat or decent gear.
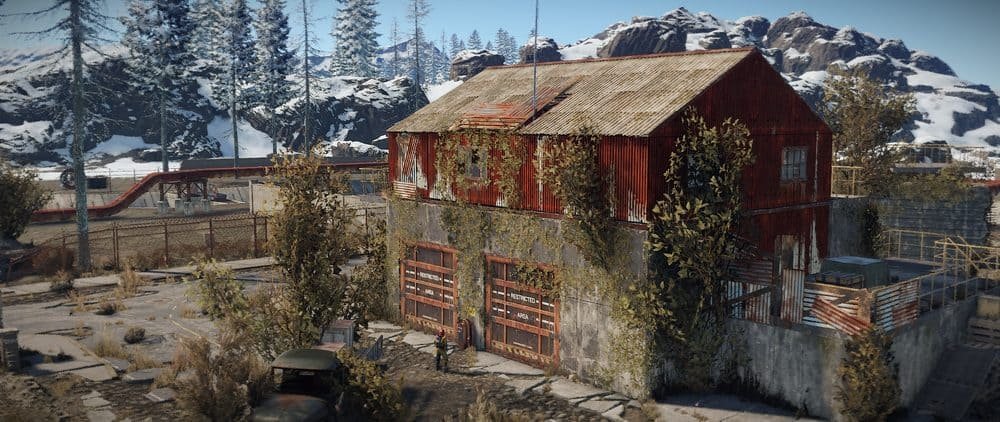
Water Treatment Plant
One of the best “workhorse” mid-tier monuments:
- solid loot even without keycards
- red card through the blue card puzzle
- recycler
- workbench
- oil refinery
The area is large, with lots of buildings and cover. It’s good both for farming and for initiating or third-partying fights. But competition is high: solo players and small groups come here all the time.
Power Plant
Power Plant gives you:
- plenty of scrap and components
- a red card
- a chance for locked crates
- lots of medium-range positions for gunfights
Because of the complex terrain and tall structures, it’s easy to set up ambushes — and equally easy to be ambushed. Don’t come here with your last kit if you’re not confident in your aim and positioning.
Trainyard
Trainyard offers:
- a red card
- a recycler
- an oil refinery
- tons of barrels around the area
Trainyard is a mix of farming and constant risk. Because of the open spaces and many sightlines, strong players love to fight here. It’s a good place to improve your PvP while still getting okay loot.
Airfield
Airfield is one of the most open and chaotic PvP zones:
- 2 recyclers
- lots of crates and barrels
- frequent Chinook drops
- huge open areas and long sightlines
You either come here to fight, or you very quickly learn to play around cover and timing. For solo, Airfield is always a gamble — but if you time it right and clean up after other fights, you can walk away stacked.
Tier 0 - Endgame & High-Risk Loot
This is the top of the food chain. Tier 0 monuments require a red card, strong gear, and often transportation. You don’t come here “just to see what happens” with a half-baked kit.
Launch Site
Launch Site is the main endgame monument:
- the most elite crates
- Bradley APC you can destroy for insane loot
- tons of PvP angles
- up to 1,000+ scrap per good run
But Launch is always dangerous: clans and strong players love it. You need to read sounds (gunshots, footsteps, Bradley movement), know crate respawn timers and always have an escape route.
Military Tunnels
Mil Tunnels give you:
- elite crates
- aggressive scientist NPCs
- fairly heavy radiation
- tight corridors where mistakes are fatal
On one hand, the loot is amazing. On the other hand, it’s a confined space — if another group pushes in, there’s hardly room to back out. Great for experienced solos or duos who can clear scientists quickly and hold angles.
Small / Large Oil Rig
The oil rigs are a world of their own:
- elite loot
- NPC soldiers and heavy scientists
- the need to control approaches by boat and heli
To run rigs you at least need a boat/heli, ammo, meds, armor, keycards and coordination (if you’re not solo). In return, if you succeed, you can bring home loot that literally changes the course of a wipe. It’s a perfect example of “high risk – high reward”.
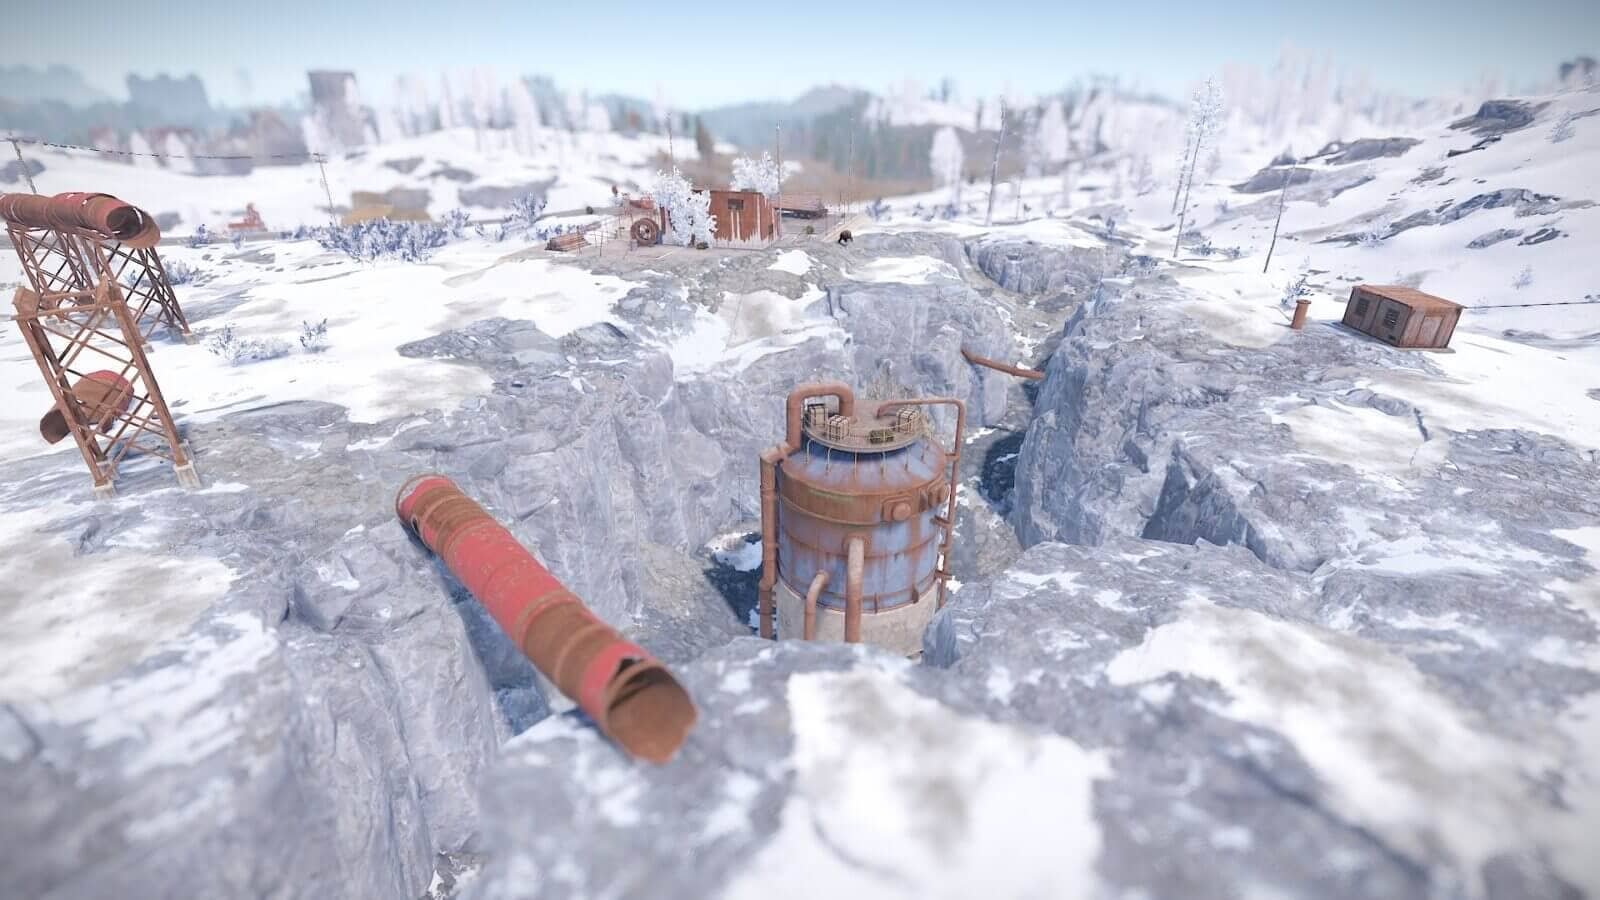
Excavator
Excavator isn’t your standard monument, but it’s incredibly powerful:
- a recycler
- elite crates in some areas
- conversion of diesel fuel into huge amounts of resources (stone, HQM, etc.)
If you can control Excavator, you can drown your base in materials. That’s why clans love it. As a solo player, it’s smart to play the edges: start the machine, grab what you need and get out before someone decides to contest.

Safe Zones - Trade & Crafting
- Bandit Camp — NPC traders, casino wheel, minicopter and scrap heli purchases.
- Outpost — safe crafting, recyclers, vending machines, oil refinery.
Understanding monument value and risk-to-reward ratio is critical for domination. Plan routes, combine runs, and choose your timing wisely. And just like in Cobalt Lab, your ability to judge when to act will set you ahead of the rest.
💡It will be interesting as well: